Drywall Installation Expert Tips and Tricks
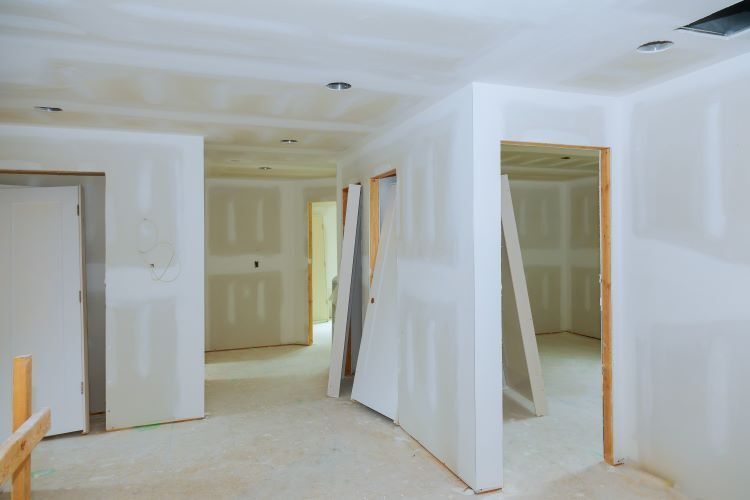
Installing drywall can be a daunting task, especially for those new to home improvement. However, with the right techniques and a bit of knowledge, you can achieve professional results. At Barrie Drywallers, we have years of experience in drywall installation, and we're here to share our expert tips and tricks to help you with your next project.
1. Planning and Preparation
Measure Twice, Cut Once
Before you begin, make sure to accurately measure the area where you will be installing drywall. This ensures you cut the sheets to the correct size, reducing waste and ensuring a seamless installation.
Gather the Right Tools
Having the right tools on hand is crucial. Here’s a list of essential tools for drywall installation:
- Utility knife
- Drywall saw
- T-square
- Drywall screws
- Screw gun or drill
- Tape measure
- Joint compound and applicators
Prepare the Workspace
Clear the area where you will be working. Remove any obstacles and ensure the walls and ceiling are free of nails, screws, or any protrusions that could interfere with the installation.
2. Cutting and Fitting Drywall
Score and Snap
When cutting drywall, use a utility knife to score the paper surface along a straight edge, then snap the board along the scored line. This method provides a clean, straight cut.
Cut Out Openings
For electrical outlets, windows, and doors, measure and mark the locations on the drywall sheets. Use a drywall saw or a keyhole saw to cut out the openings accurately.
Dry Fit Before Attaching
Dry fit each piece of drywall before attaching it to the studs. This ensures the pieces fit correctly and allows you to make any necessary adjustments.
3. Installing Drywall
Use Drywall Screws
Drywall screws are preferred over nails because they provide a stronger hold and are less likely to pop out over time. Use a screw gun or drill to drive the screws into the studs, spacing them about 12 to 16 inches apart.
Stagger the Joints
When installing multiple sheets of drywall, stagger the joints to provide extra strength and stability to the wall. This means avoiding having all the seams line up on the same stud.
Leave a Gap at the Bottom
Leave a small gap (about half an inch) at the bottom of the drywall sheets. This prevents the drywall from absorbing moisture from the floor, which can lead to mold and mildew issues.
4. Taping and Mudding
Apply Drywall Tape
Once the drywall is attached, apply drywall tape to cover the seams. This helps to reinforce the joints and create a smooth surface for the joint compound.
Use Joint Compound in Layers
Apply joint compound (also known as mud) over the tape in thin layers. Start with a thin coat to cover the tape, let it dry, and then apply additional layers, feathering out each layer to blend it with the surrounding wall.
Sand Between Layers
After each layer of joint compound has dried, lightly sand the area to smooth out any imperfections. Be sure to wear a dust mask to protect yourself from inhaling the fine dust particles.
5. Finishing Touches
Final Sanding
After applying the final coat of joint compound, sand the surface one last time to ensure a smooth finish. Use a fine-grit sandpaper for this step.
Prime the Surface
Before painting, apply a primer to the drywall. This seals the surface and provides a uniform base for the paint, ensuring better adhesion and a longer-lasting finish.
Inspect Your Work
Finally, inspect your work for any imperfections or areas that may need touch-ups. A well-installed drywall surface should be smooth and ready for painting or wallpapering.
Conclusion
Drywall installation can seem intimidating, but with the right approach and attention to detail, you can achieve professional results. At Barrie Drywallers, we pride ourselves on our expertise and commitment to quality. Whether you're a DIY enthusiast or looking for professional assistance, we're here to help with all your drywall needs.
Contact us today for more information or to schedule a consultation!
You Might Also Enjoy:


Contact Us!