Mastering the Art of Drywall Patching

Drywall is a common material used in modern homes due to its durability and ease of installation. However, even the sturdiest drywall can suffer from damage over time. Whether it's from accidental impacts, moisture, or settling of the house, drywall can develop holes and cracks that need attention. At Barrie Drywallers, we understand the importance of a seamless repair. In this article, we'll guide you through the process of drywall patching.
Understanding Drywall Damage
Before diving into the patching process, it's essential to identify the type and extent of the damage. Common types of drywall damage include:
- Nail Holes: Small holes left by nails or screws.
- Dents and Dings: Minor surface damage from impacts.
- Cracks: Often caused by settling or structural shifts.
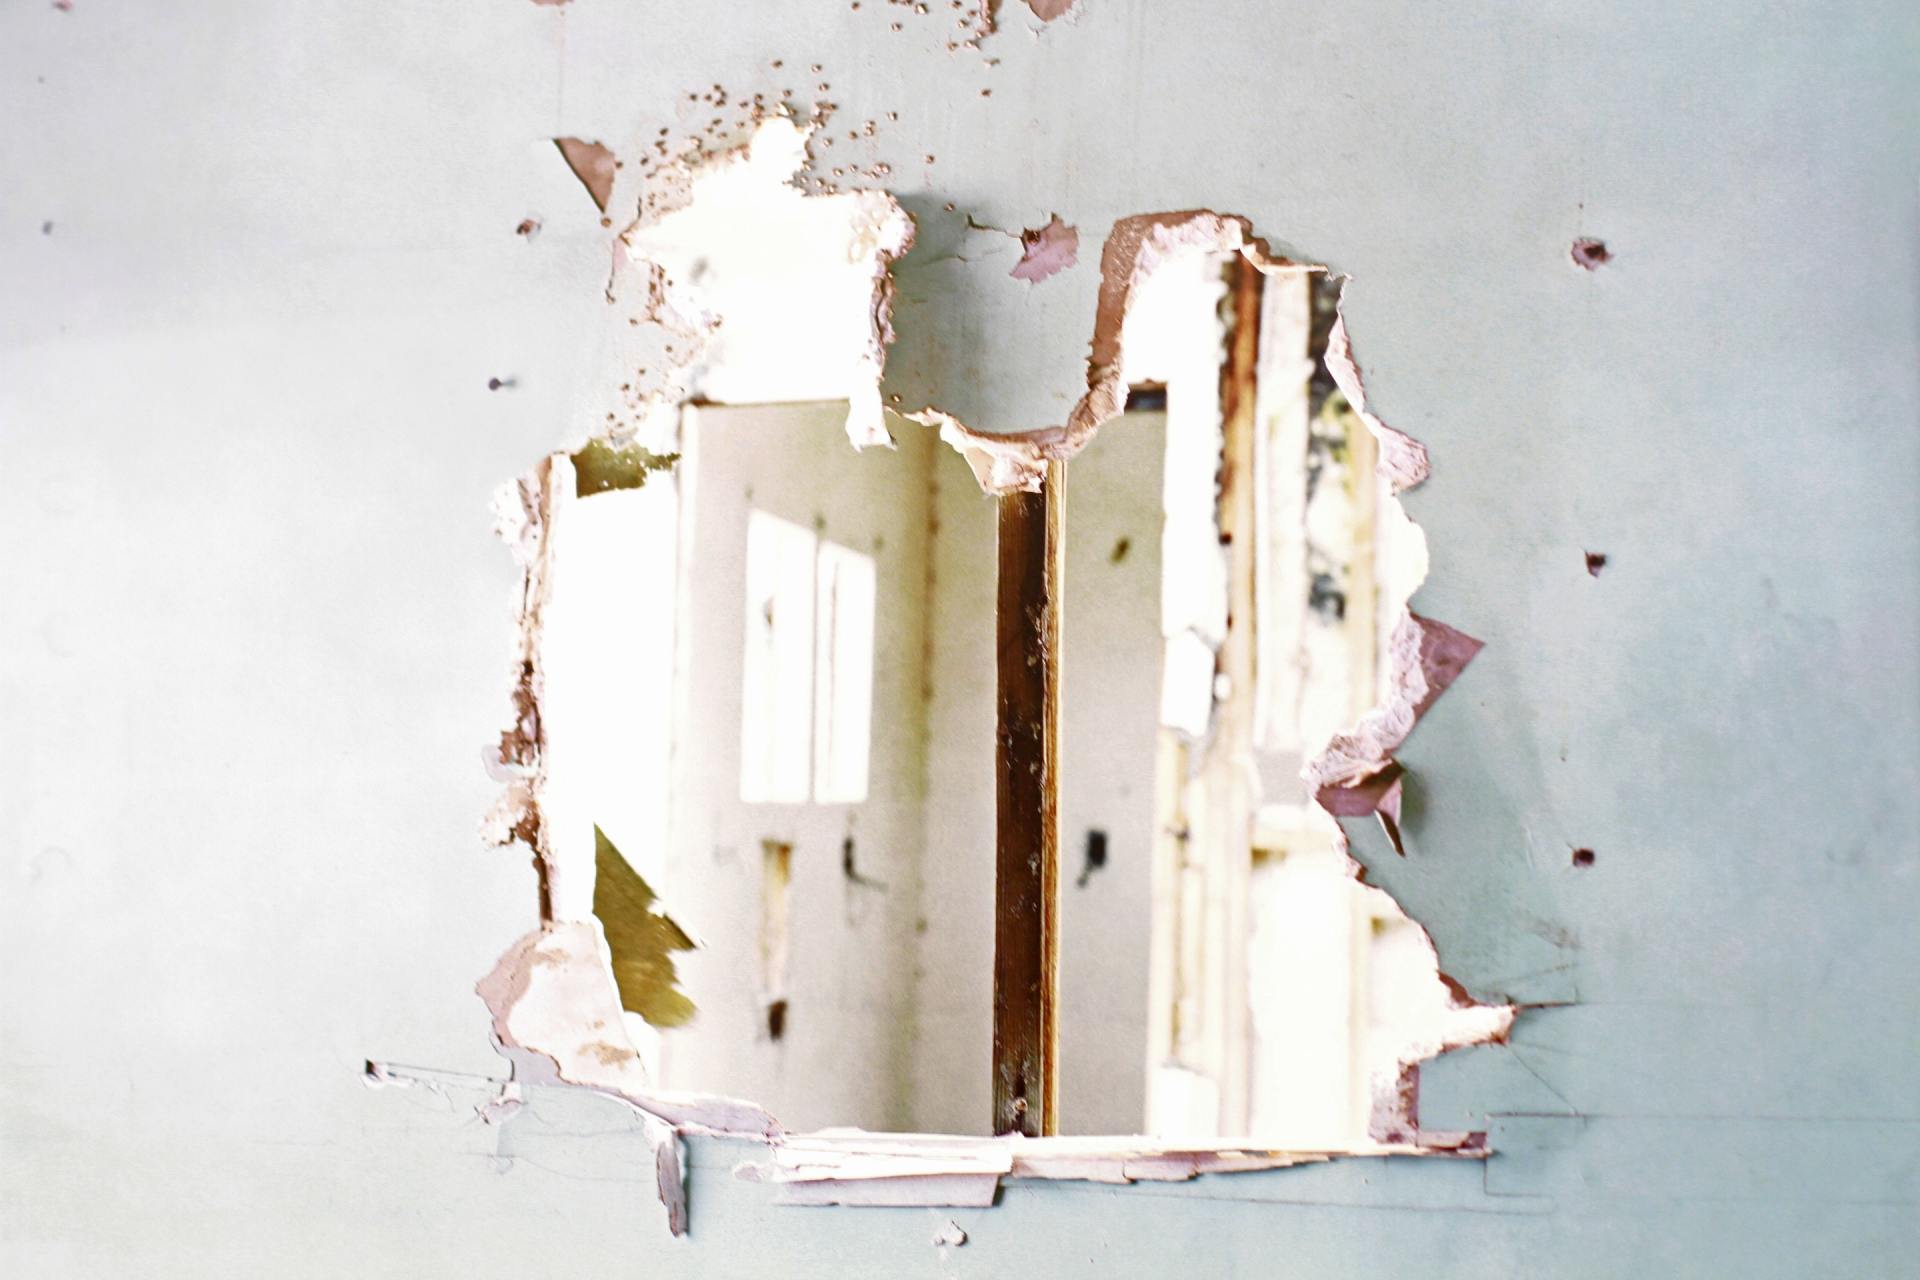
- Holes: Larger openings from door handles, furniture, or accidental impacts.
- Water Damage: Discoloration and weakening from leaks or flooding.
Essential Tools and Materials
To achieve a professional finish, you'll need the right tools and materials:
- Utility knife
- Drywall saw
- Joint compound
- Drywall tape (mesh or paper)
- Putty knife
- Sanding sponge or sandpaper
- Drywall patches (for larger holes)
- Primer and paint
Step-by-Step Guide to Drywall Patching
1. Preparing the Area
Start by cleaning the damaged area. Remove any loose debris, peeling paint, or wallpaper. For larger holes, use a drywall saw to cut a clean, square hole around the damage. This makes it easier to fit a patch.
2. Applying the Patch
Small Holes and Cracks
For small holes and cracks, use drywall tape to cover the damaged area. Mesh tape is self-adhesive and easier to work with for beginners, while paper tape provides a smoother finish but requires more skill.
- Cover the Damage: Place the tape over the hole or crack, ensuring it extends slightly beyond the damaged area.
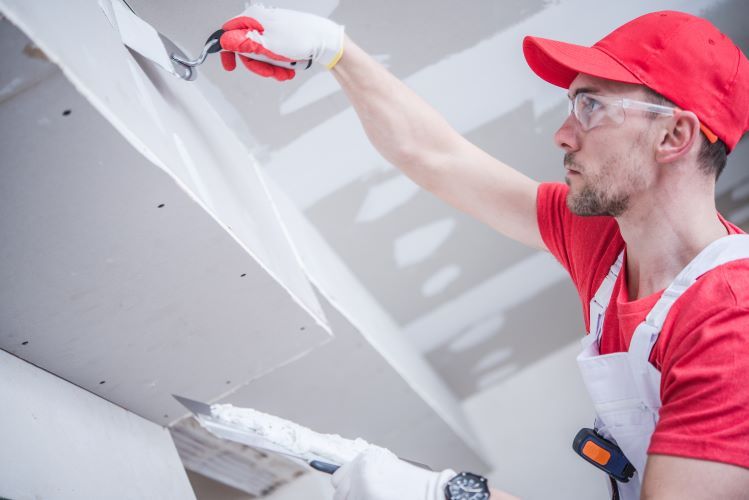
- Apply Joint Compound: Using a putty knife, spread a thin layer of joint compound over the tape, feathering the edges to blend with the surrounding wall. Allow it to dry completely.
- Sand Smooth: Once dry, sand the area until smooth. Repeat the process with additional layers if necessary, sanding between each layer.
Larger Holes
For larger holes, you'll need a drywall patch:
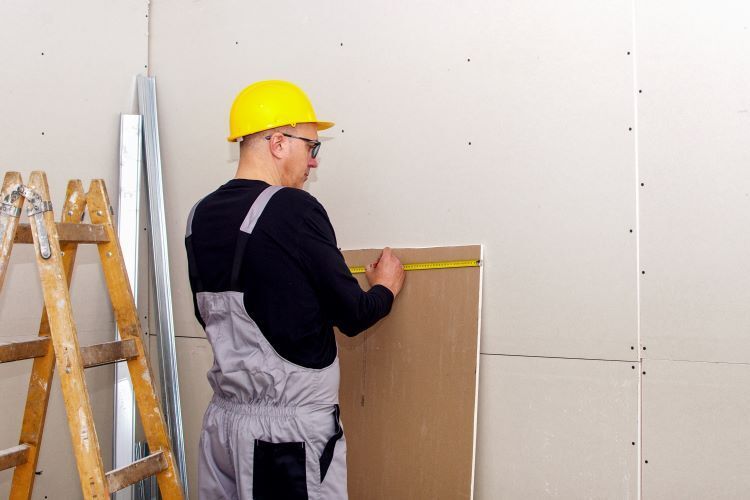
- Cut and Fit the Patch: Cut a piece of drywall to fit the hole. If you're using a pre-made patch, ensure it fits snugly.
- Secure the Patch: Place the patch in the hole and secure it with drywall screws, ensuring the screws are slightly recessed.
- Tape and Compound: Cover the edges of the patch with drywall tape. Apply joint compound over the tape and patch, feathering the edges. Allow it to dry, then sand smooth.
- Repeat if Necessary: Apply additional layers of joint compound, sanding between each layer until the patch is seamless with the wall.
3. Finishing Touches
After the final layer of joint compound is dry and sanded smooth, wipe away any dust with a damp cloth. Apply a coat of primer to the patched area to seal it and prepare it for painting. Once the primer is dry, paint the area to match the rest of the wall.
Tips for a Professional Finish
- Feathering: Always feather the edges of the joint compound to blend seamlessly with the surrounding wall.
- Sanding: Use a sanding sponge or fine-grit sandpaper for smooth, even sanding. Avoid over-sanding, which can damage the surrounding drywall.
- Multiple Layers: Apply multiple thin layers of joint compound rather than one thick layer. This ensures a smoother finish and reduces the risk of cracking.
- Proper Drying Time: Allow each layer of joint compound to dry completely before sanding and applying the next layer.
Conclusion
Mastering the art of drywall patching takes practice, but with the right techniques and tools, you can achieve a professional finish that restores the beauty and integrity of your walls. At Barrie Drywallers, we're here to help with all your drywall repair needs. Whether you're tackling a small patch job or a larger repair, our experienced team is ready to assist you, ensuring your home looks its best.
Contact us today for more information or to schedule a consultation.
You Might Also Enjoy:


Contact Us!
